4 easy ways to make your own organic fertiliser and compost
By Melanie Pita, Climate Activist teacher: Today we will share with you some recipes for making your own organic compost and fertiliser, as well as compost from raw food scraps. A really good way to reduce waste and improve the yield and beauty of your garden!
1. Green compost
Green compost is created by recycling green waste: grass clippings, leaves, flowers, plant stalks and other plant material from garden and park.
What are the benefits of green composting? Green compost provides slow release of major and micro nutrients, improves soil structure as well as workability & rooting potential, increases moisture retention and soil drainage, and it is a good source of organic matter.
The advantage of having different kinds of compost is that different kinds of compost becomes ready to use at different rates. Green compost takes up to 5 months to be ready.
Recipe for Green Compost:
Put only green material (only garden greens) & do not add too fibrous and hard material (ex. sunflower stems)
Put it in a bin.
Press it down with your hands.
Add some water to activate it and make it moist.
After 3 to 5 months it is ready to use.
PS – The amount of water depends on how big the bin is. We use half a watering can!
2. Woody Compost
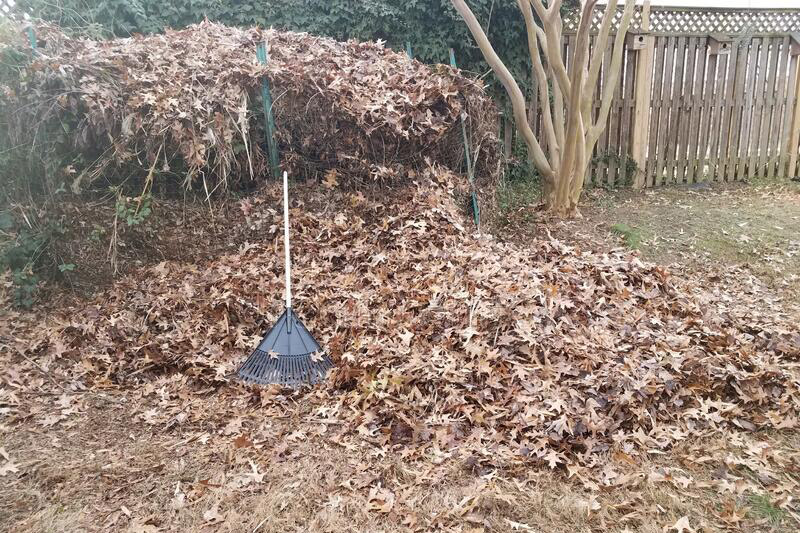
Woody compost is created by recycling brown materials - woody waste from trees and shrubs from pruning, or more fibrous and hard materials such as sunflower stems from gardens and parks.
Woody compost makes an excellent, long-lasting mulch for paths and borders and saves on costs from buying it in. It provides release of major and micro nutrients, improves soil structure as well as workability & rooting potential, increases moisture retention and soil drainage, it is a good source of organic matter.
Woody compost takes around a year to be ready.
Recipe for Woody Compost:
Gather only brown material.
Break the big branches and stems, the smaller the better.
Put it in the bin.
Press down with your hands
Add a layer of soil
Add half a watering can or so to activate and make it moist
After 1 year it is ready to use.
PS – The amount of water depends on how big your bin is.
3. Organic Fertiliser
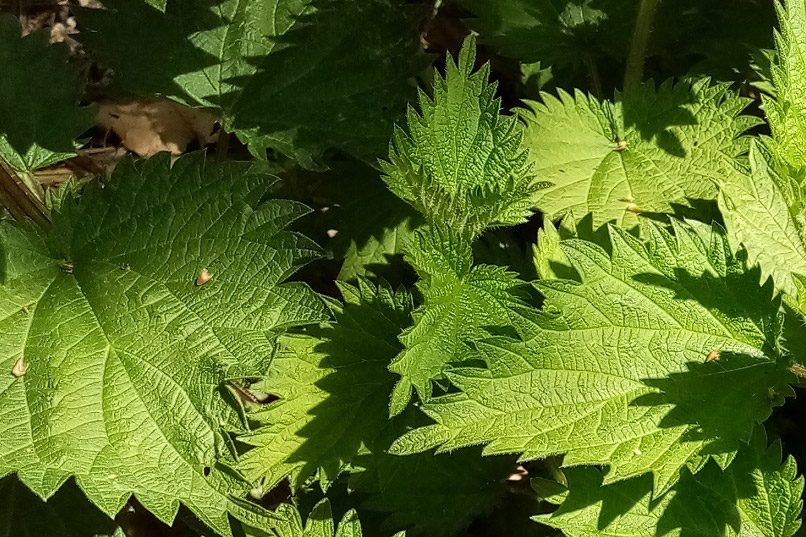
You can make your own fertiliser out of something you will probably very easily find in your garden/park – nettles.
Nettle fertiliser is good for roses, tomatoes, root vegetables, legumes and almost any other plant seems to benefit from its application – colours, plant growth, flavours and textures all seem to improve. Nettles have deep roots and as they grow, they bring up trace elements from the deeper soil which are essential to plant health, but which are often lacking in regularly cropped top soil.
What are the benefits of using fertiliser? Besides releasing nutrients it improves the structure of the soil and increases its ability to hold water and nutrients. With time organic fertilisers will help your plants and your soil to be strong and healthy.
Recipe for organic nettle fertiliser:
The proportion is 1:2 (1 of nettles and 2 of water)
Fill half a bin with nettles (press a bit with your hands)
Fill the bin up to the top with water
Place a stone on top of the nettles
The fertiliser will be ready in 2 - 3 weeks
To use it you mix 1 part “nettle tea” with 10 parts water
PS – You can then directly pour it on the soil or you can use it as spray (without the last step) as it can also act as an insect repellent. You can apply it as fertiliser every 3 weeks.
4. Compost from kitchen scraps
This compost also adds nutrients and valuable organisms to the soil. Microorganisms, such as protozoa, fungi and bacteria decompose the organic material. And of course, another benefit is that you reduce landfill waste by recycling your kitchen scraps!
Recipe for compost from kitchen scraps:
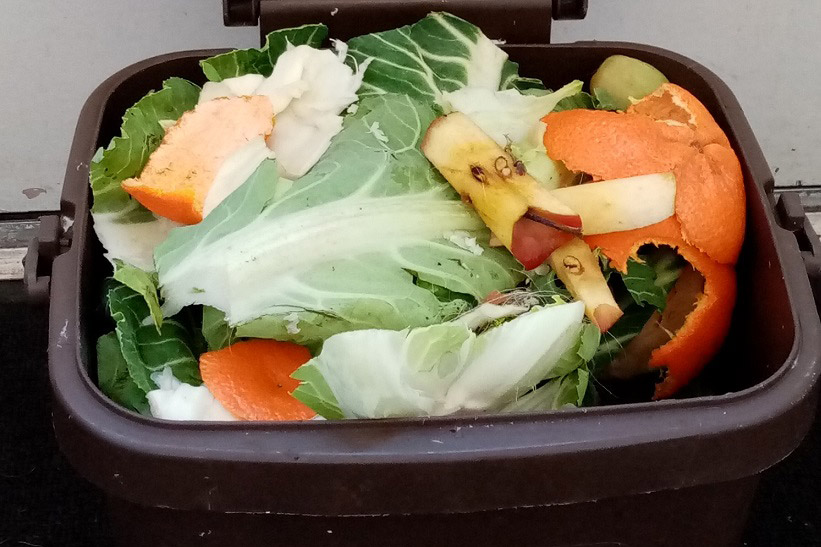
Gather your food scraps – use raw food for a faster composting process. Do not add any meat, bones, fish or cooked food..
Gather dried leaves, shredded brown paper bags, eggshells or straw - not necessarily all of them, use what you have.
In your composter (can be a compost box or bin or even just in bare earth) lay twigs or straw first to provide drainage.
Add the compost materials in layers, altering between food scraps and dry materials. You can add a layer of green compost if you have.
Keep the compost moist by watering it occasionally. Cover it so it retains moisture and heat - both are essential for composting.
Every few weeks you give the pile a quick turn with a pitchfork or shovel.
PS – It can take a full year for your compost to be ready. Mature compost will be dark brown, with a crumbly soil-like texture.


